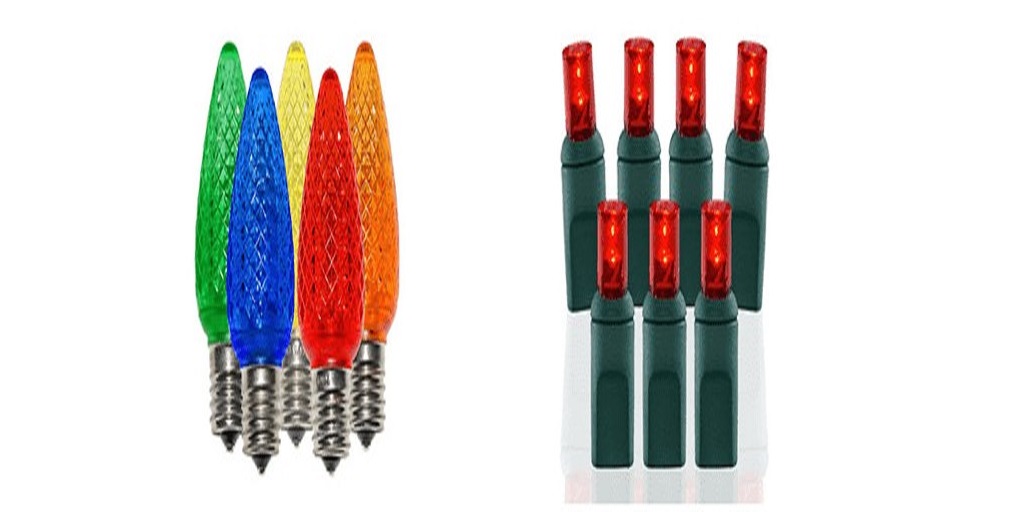
One of the most cherished moments during the holiday season is the beautiful glow of Christmas tree lights. To ensure your tree dazzles with festive radiance, it’s essential to hang the lights correctly. To make it easier, here’s a step-by-step guide on how to use Christmas lights for tree decorating, so your tree becomes the enchanting centerpiece of your holiday celebrations.
Gather Your Supplies:
Before you start, make sure you have all the necessary supplies. You’ll need your Christmas lights, an extension cord (if required), and a step stool or ladder if your tree is tall.
Test Your Lights:
Before hanging the lights, it’s a good idea to test them. Plug them in and check for any burnt-out bulbs or malfunctioning sections. Replace any faulty bulbs to ensure your tree lights up uniformly.
Begin at the Base:
Start hanging your Christmas tree lights from the base of the tree, working your way up. If your tree is pre-lit, you can skip this step.
Choose Your Lighting Style:
Decide on your lighting style, whether it’s the classic wrap-around style or the zigzag style. For the wrap-around style, start from the bottom and wind the lights around the tree in a spiral pattern, making sure to distribute the lights evenly as you go.
For the zigzag style, start at the bottom, go up to the top, and then zigzag down again, forming a series of parallel lines.
Secure the Plug:
Ensure the plug end of the lights is near an electrical outlet or power strip. If you’re using an extension cord, connect it to the end of the Christmas lights. Position the cord or plug discreetly so that it’s not visible when the tree is fully decorated.
Avoid Overloading the Branches:
Be mindful not to overload individual tree branches with too many lights, which can cause them to sag. Distribute the lights evenly across the branches to maintain a balanced appearance.
Test as You Go:
To avoid disappointment later, periodically plug in the lights as you progress to see how they look when lit. Adjust the placement if needed to ensure an even distribution of light.
Check for Gaps:
Once you’ve reached the top of the tree, assess the overall appearance. Ensure there are no gaps in the lighting and that the lights are evenly spaced.
Secure Lights at the Top:
Secure the end of the lights at the top of the tree using twist ties or ornament hooks. Make sure the end of the string doesn’t hang down or become visible.
Add Tree Toppers and Ornaments:
Once the lights are in place, add your tree topper and hang your ornaments. This will give your tree a polished and festive look.
Hide Excess Cord:
If you have excess cord or extension cord visible, tuck it behind the tree or use cord organizers to keep it neat and out of sight.
Use Timer or Smart Plugs:
For added convenience, consider using a timer or smart plug to automate when your Christmas tree lights turn on and off each day. This saves energy and ensures your tree is beautifully lit each evening.
Hanging up Christmas tree lights doesn’t need to be a daunting task. By following these straightforward steps and paying attention to the details, you can create a stunning holiday centerpiece that radiates warmth and cheer. Illuminate your holiday spirit with a perfectly lit Christmas tree that brings joy and wonder to your home throughout the season.
If you’re looking for a great place to find Christmas lights online, You can find everything you need at Decorator’s Warehouse! Not only do they have perfect lighting options for your tree, but outdoor lighting options as well. Whether it’s exterior Christmas lights or any other kind of Christmas lighting, this is the place to shop!
For more information about Christmas Ornaments and Christmas Garland Please visit: Decorator’s Warehouse.

